Use cases
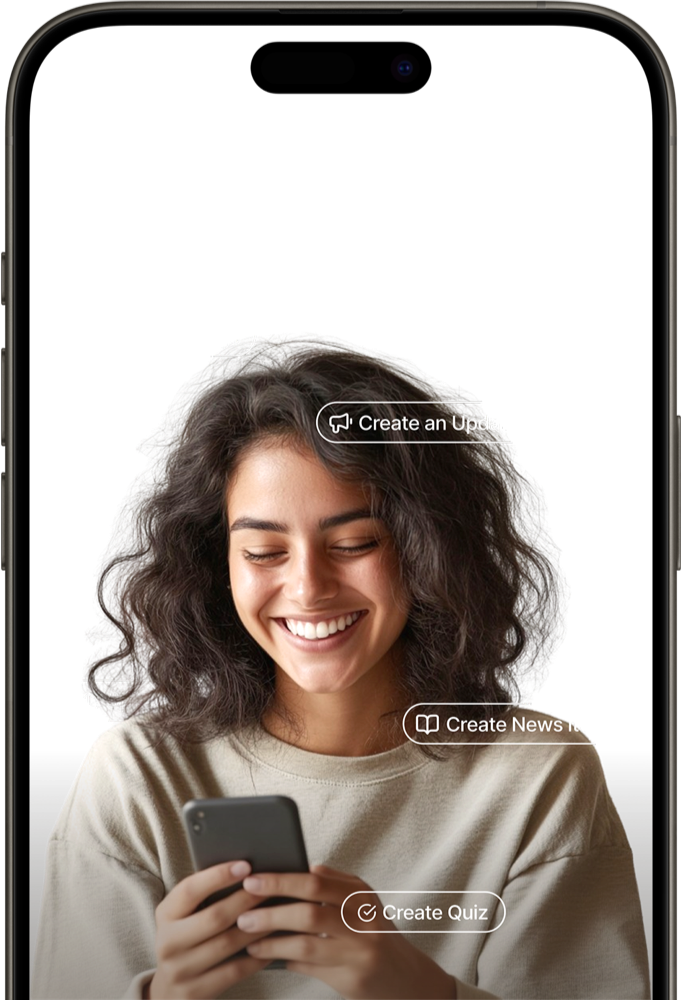
In search of some inspiration? Think big - you get to decide how to extend Speakap.

Getting started
Have a great idea or concept, but don`t know where to start? Check out how to start from scratch.

Documentation
Explore the possibilities of using the Speakap API. Retrieve user data, updates and much more
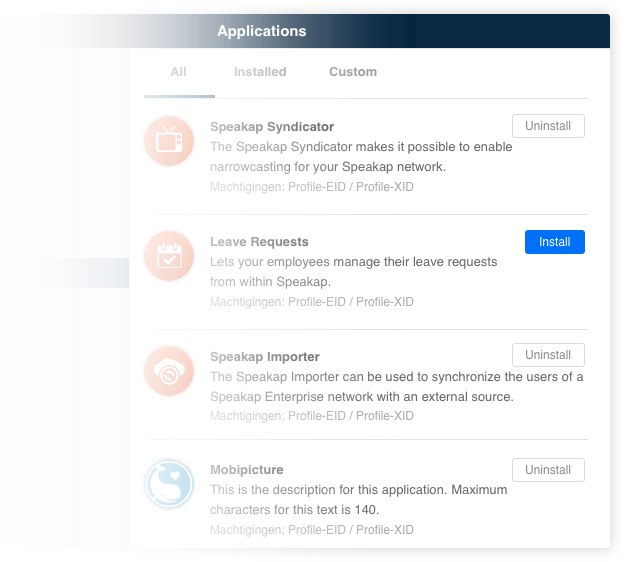
Speakap integrations
Speakap can be fully integrated with existing software within your organization. Log into Speakap for instant access to your data and associated software.
Some ideas to get you started
- Todo lists for your professional to-dos
- External Document Management System
- Workforce management
- Workschedules integration
- Leave requests
- E-learning
- Do whatever you want...
More Information? Or develop your own application?
Want to know how to incorporate Speakap into your own organization and find out which Apps are currently available? Or would you rather develop your own application based on our open API? We`d love to discuss the possibilities with you. Or just register as a developer and dive right in.


© Speakap 2026